Presenting my latest little DIY project!!
These ideas have been bugging in my head ever since I bought these lovely polka-dotted fabric from Chinatown. So in my little self-given holiday I decided to finally put them to fruition.
Lately my sister and I have been going crazy over everything polka-dotted. Especially stuff from Cath Kidston, the mother of all things polka-dotted. Like how cute are her designs below!!
Bowls
Saddle Bags
Polka dots and florals are very popular this year and you can see them popping out everywhere. When I saw this fabric in Chinatown, I couldn't resist getting a metre of each to play with.
See how pretty!
I made 3 things this afternoon. A lanyard to use with my existing pass holder, an ezLink card holder and a staff pass holder. And they are very simple to do, no sewing needed!!
Oh yes and I HAVE to mention my other inspiration for this project.
It all started with this amazing tip I read from this really great blog, How About Orange, titled
'How to Stiffen Fabric'. This was a really simple idea with tons of possibilities! By stiffening fabric, it takes on the property of paper, allowing it to be foldable and flexible BUT with the durability of fabric!! How genius is that!
Jessica from
How About Orange then went down to share a couple more tutorials she'd come up with. You have GOT to check them out.
I've been itching to try stiffened fabric since I read those tutorials so here's my version!
1) Lanyard
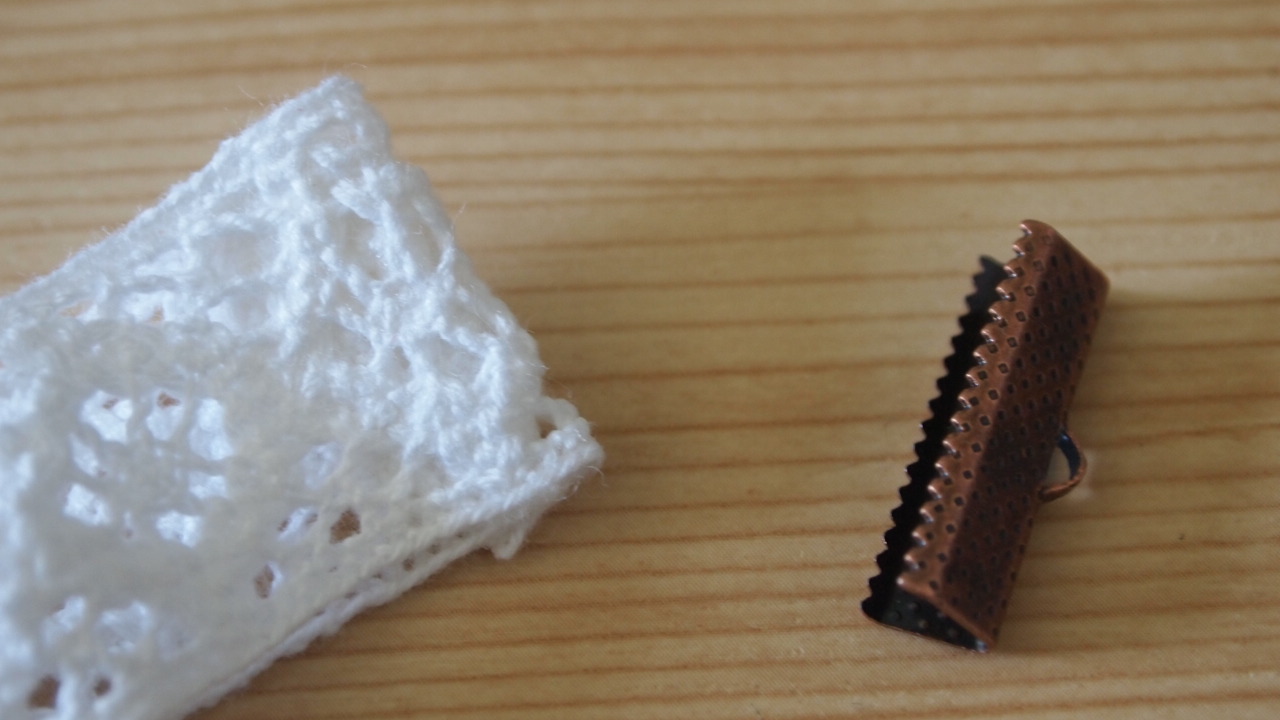
I got this really pretty lace at Daiso (only $2, cheap cheap). You'll also need a mobile phone string, a sort of clamp thing for gripping onto ribbons and a jump ring (mine was 12mm).
You can also make this with any sort of ribbon. I find 2cm wide ribbons a perfect width.
Cut your ribbon to the length you want. It can be any length you're most comfortable with and which makes it easy for you to put on and remove your lanyard.
After cutting, put the the ends together, fold over a little and apply glue. You then use the clamp thingy to grip the end.
Like so. Use jewelry pilers to really close it tight.
I had to use a smaller jump ring first because the hole at the end of the clamp was rather small. After clamping the end of the ribbon, attach the small jump ring, followed by the 12mm one and finally the mobile phone string.
You can now attach to it to any card case or even you mobile phone!
Quick and easy!
2) ezLink card holder
Also applicable for business cards.
Measurements: 17.5cm by 6.5cm
Measure out the size onto paper first then pin your template onto your fabric.
Cut out for both fabrics.
Spray the 2 pieces with fabric starch and really soak them through. Iron them with a dry iron, no steam. My fabric was ordinary cotton so I needed at least 2 to 3 layers of starch to make it really stiff. If you're using heavier fabric, you won't need as much. Then again, it's also up to how stiff you want the fabric to be. When ironing, apply the iron gently. I have found out that with the high heat setting for cotton, setting the iron right down onto the fabric rumples it up and it'll be hard to iron out the creases out later.
After ironing the fabric, apply glue all around the edge and stick them together. Now's a good time to trim uneven edges or fraying thread. Fold it over, leaving about 1cm of space and use the iron to give it a nice crisp fold.
And you're done!!
3) Staff pass holder
The steps are basically the same as the ezLink card holder above with a few additional steps. As it is a staff pass holder, naturally you'll need a window so that your staff pass can be shown.
Repeat steps for making the ezLink card holder up to the point where you have your stiffened fabric. Before glueing them together, do the steps below:
Cut a piece of plastic of the same size. I used book wrapping plastic easily found in Popular bookstore. Pin your two pieces of fabric together as shown.
Mark out about 1cm from the edge all round and cut out the centre portion.

Cut a small length of ribbon, fold over and glue it onto the wrong side of the outer fabric first.
Glue on the piece of plastic and finally the inner layer of fabric.
This time fold equally and glue the sides.
Simple??
For glue, I recommend Beacon's 3-in-1 Advanced Craft Glue.
Really strong and fast drying.
Now I have yet to really put my projects to the test, i.e. daily use and wear and tear. Please bear in mind that these are no-sew projects and done using only glue, so for those who are doubtful that they will hold, you may add a couple of stitches for security.
Hope you liked them!!